How to Edit Surf Photos in Lightroom (Workflow + Presets)
Published 30 April 2026
The edit is where a technically good surf photo becomes something people want to buy. Lightroom is the standard tool for most surf photographers, and a fast, consistent workflow is as important as the shooting itself.
This is how to build one that doesn't eat all your time.
The non-negotiable starting point: cull first
Before you open a single photo for editing, cull your session down. Editing takes time, and editing frames you'll never use is time wasted.
Fast culling workflow in Lightroom:
- Import all frames
- Switch to Grid view (G)
- Go through at 1:1 zoom — reject blurry frames with X immediately
- Use P to flag your picks (sharp focus, good moment, interesting composition)
- Filter to show only flagged photos
- You should now have roughly 10–20% of your original frames
For a session of 2,000 frames, expect 200–400 selects. Be ruthless. If you hesitate, reject.
Building a base preset
A good base preset does most of the heavy lifting for a typical session. A reasonable starting point for surf photography:
Tone:
- Exposure: +0.2 to +0.3 (surf photos often benefit from being slightly bright)
- Contrast: +10 to +20
- Highlights: −30 to −50 (recover sky and foam detail)
- Shadows: +10 to +20 (open up faces and wetsuits)
- Whites: 0 to +10
- Blacks: −10 to −20
Presence:
- Texture: +15 to +20 (brings out water detail)
- Clarity: +5 to +10
- Dehaze: 0 to +10 (especially useful in hazy or flat light)
- Vibrance: +10 to +20 (more controlled than saturation)
Colour (HSL):
- Aqua/Teal: push Saturation +20, Hue toward blue
- Blue: Saturation +15, Luminance −10 (deep blue sky)
- Orange: Hue −5 (warmer skin tones)
This is a starting point. Your specific lighting conditions and personal style will change these values.
Handling different light conditions in post
Flat/overcast light
The biggest challenge: photos look grey and lifeless.
Fix it:
- Increase contrast significantly (+30 to +40)
- Use Dehaze: +15 to +25 — this adds contrast and colour simultaneously
- Boost Vibrance: +25 to +35
- Add a cool tint in the shadows (Colour Grading: shadows toward blue/teal)
- Increase Texture and Clarity for water detail
Harsh midday sun
Bright, flat, overexposed highlights.
Fix it:
- Drop Highlights aggressively: −60 to −80
- Lift Shadows: +20 to +30
- Use graduated filter or radial filter to darken sky without affecting the surfer
Golden hour
Generally needs least work.
- Protect highlights (−20 to −30)
- Add slight warmth in midtones (Colour Grading: midtones toward amber)
- Optional: slight teal/orange split tone for that cinematic look
Colour grading: the creative step
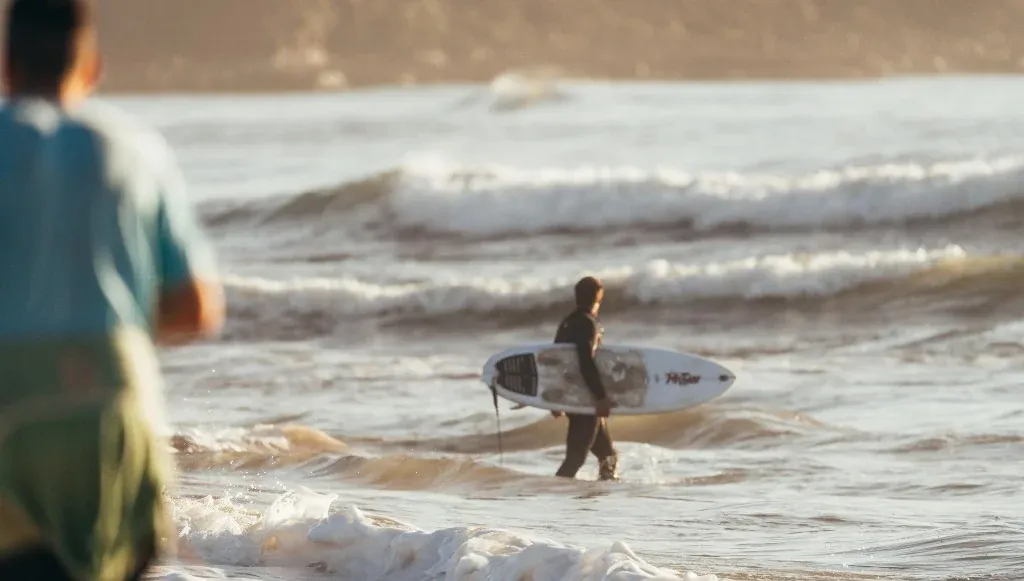
Once your exposure is sorted, colour grading is what gives your work a consistent visual signature.
Two common surf photography looks:
Cool and contrasty:
- Shadows: teal/blue
- Midtones: neutral or slight blue
- Highlights: light teal
- Result: moody, ocean-toned, works well with grey/overcast sessions
Warm and cinematic:
- Shadows: blue/teal
- Midtones: slight orange
- Highlights: warm cream/amber
- Result: classic teal-orange, works best with golden hour sessions
Pick one look and use it consistently across a session. Consistency matters when surfers are scrolling through a gallery — a unified look reads as professional.
Batch editing efficiently
Once you have one photo edited to where you want it:
- Select all other photos in the session (Cmd+A)
- Click Sync Settings
- Choose which settings to sync (usually everything except Crop and Spot Removal)
- Review and tweak individual frames for exposure variation
This reduces your edit time per photo from minutes to seconds.
Cropping for surf photography
The default sensor crop rarely gives the best composition for a surf shot. Most surf photos benefit from:
- Tighter crop: The surfer should be prominent. A person too small in the frame loses the energy.
- Rule of thirds: Surfer at one third, horizon line at one third.
- Leading space: Leave space in the direction the surfer is travelling.
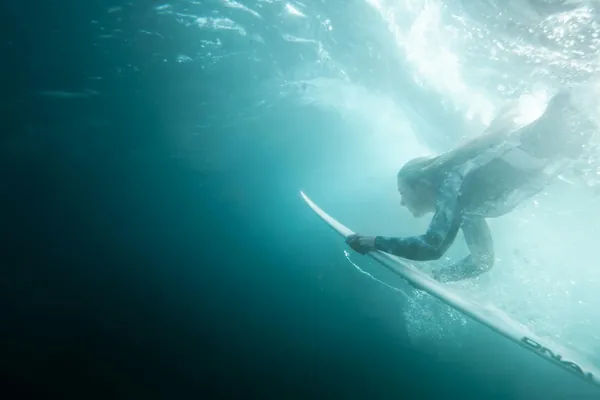
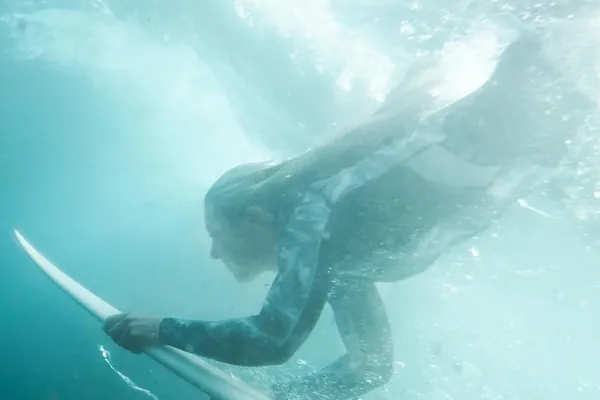
- Crop to the moment: Sometimes the best crop cuts out most of the wave and focuses entirely on the surfer's expression or body position.
Export settings for selling online
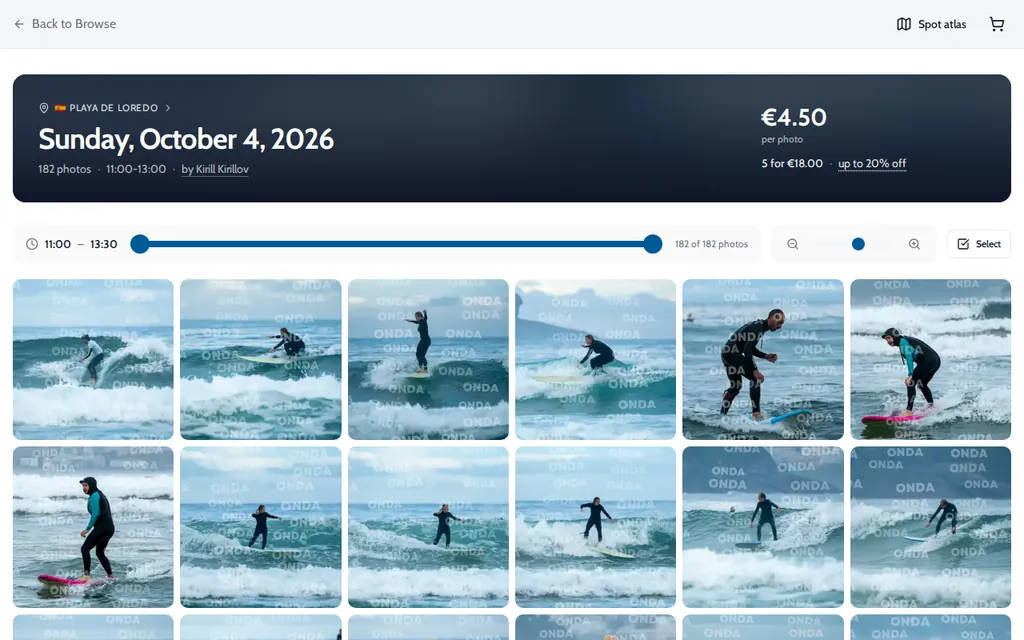
For selling on Onda or any platform:
- Format: JPEG
- Quality: 90–95
- Colour space: sRGB (not AdobeRGB — it doesn't display correctly in browsers)
- Resolution: Full resolution (no downscaling)
- Filename: date_location_sequence — makes session management easier
Keep your RAW files archived. They're your backup and the source for any future re-edits.
Presets worth buying
If you'd rather not build your own from scratch:
- VSCO Film packs — classic film emulations, some work beautifully for surf
- Mastin Labs — film-based, consistent and natural-looking
- Properly Wild — made specifically for action/outdoor sports
Buy one set, customise it to your conditions, and you have a starting point that saves significant time.
For a visual look at what editing actually changes, see our before and after RAW editing examples. And for the shooting side, check our camera settings guide and beginner's guide to surf photography.