Best Cameras for Surf Photography in 2025
Published 25 April 2026
Choosing a camera for surf photography is different from choosing for portrait or landscape work. The specs that matter most — burst rate, autofocus tracking, subject detection, weather sealing — aren't always the ones advertised most prominently.
This guide cuts through the marketing and focuses on what actually matters in the field.
What to look for in a surf photography camera
Burst rate: Surfing is fast and the decisive moment lasts a fraction of a second. 10fps is a minimum; 20fps+ gives you significantly better odds of nailing a peak moment in a sequence.
Autofocus tracking: Subject tracking (ideally with human/body/face detection) is essential. A camera that can lock onto a surfer moving across the frame and keep them sharp is far more valuable than one with more megapixels.
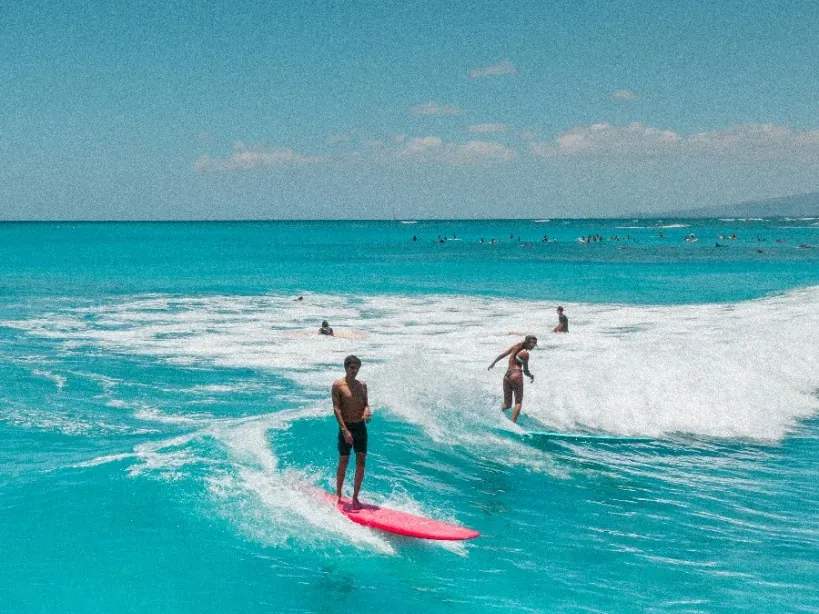
Buffer depth: When you shoot long bursts, the camera writes to a buffer before saving to the card. A deep buffer means you can keep shooting without the camera freezing. Crucial for consecutive wave sequences.
Weather sealing: Salt air and occasional spray are unavoidable. Weather sealing isn't a guarantee against damage, but it significantly improves durability.
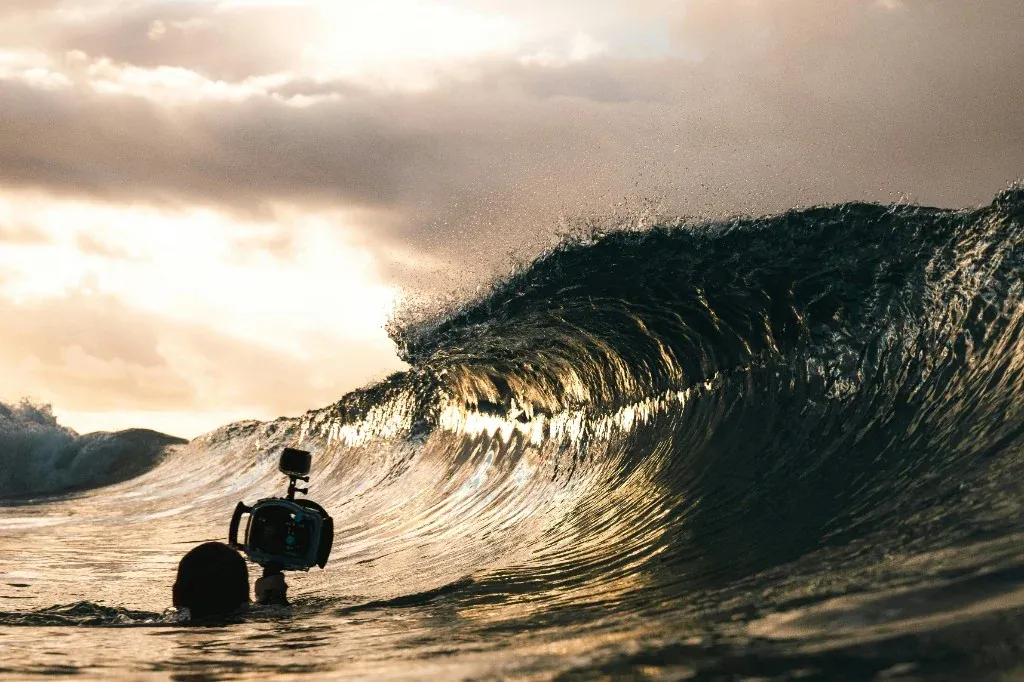
Battery life: You'll be shooting for 2–4 hours at a stretch. Larger batteries or a grip that takes two is worth the extra weight.
Entry level (under €1,500)
Sony a6700
A compact APS-C camera with genuinely professional-level autofocus. Sony's AI subject detection technology filters down from full-frame bodies.
- Burst rate: 11fps mechanical, 30fps electronic (with some rolling shutter)
- AF: AI-based subject detection, human/animal/vehicle
- Weather sealing: Yes
- Weakness: Smaller APS-C sensor limits low-light performance vs. full-frame
Good for photographers who want to start serious and grow into a bigger system.
Canon EOS R7
Canon's APS-C mirrorless workhorse. Impressive for the price.
- Burst rate: 15fps mechanical, 30fps electronic
- AF: Dual Pixel CMOS AF II — excellent tracking
- Weather sealing: Yes
- Weakness: Crop sensor means slightly less reach on telephoto lenses (actually an advantage when shooting from the beach — 400mm becomes 640mm equivalent)
Nikon Z50 II
Nikon's updated APS-C mirrorless. More refined than its predecessor.
- Burst rate: 14fps
- AF: Subject detection tracking, solid but not class-leading
- Weather sealing: Basic
- Weakness: Smaller buffer than the R7 or a6700
Mid-range (€1,500–€3,000)
Sony a7 IV
Sony's entry full-frame mirrorless. Slower burst rate than sports-specific bodies but excellent image quality and great autofocus.
- Burst rate: 10fps
- AF: Real-time Tracking, human/eye detection
- Weather sealing: Good
- Best for: Photographers who balance surf work with other genres (portrait, landscape) — the image quality is excellent across all uses
Canon EOS R6 Mark II
A big step up from the R7 for sports use specifically.
- Burst rate: 40fps electronic (12fps mechanical with tracking)
- AF: Canon's best subject detection and tracking
- Weather sealing: Excellent
- Best for: Serious surf photographers who want Canon glass and the best AF in this price range
Nikon Z6 III
Nikon's latest mid-range full-frame. A significant improvement over the Z6 II with partial stacked sensor technology.
- Burst rate: 60fps (raw burst), 14fps continuous with tracking
- AF: 3D tracking, subject detection — very competitive
- Weather sealing: Good
- Best for: Nikon shooters who want pro-level performance without full-pro pricing
Professional (€3,000+)
Sony a9 III
The global shutter benchmark. A completely different category of sports camera.
- Burst rate: 120fps (without blackout)
- AF: Sony's AI tracking at its peak
- Weather sealing: Professional grade
- The advantage: Global shutter eliminates rolling shutter completely — no distortion on fast motion
- Weakness: High price; high-ISO performance slightly behind a1
Canon EOS R3
Canon's flagship sports body. Used by a significant portion of professional sports photographers worldwide.
- Burst rate: 30fps with full AF/AE
- AF: Eye Control AF (you aim by looking) + Canon's strongest tracking
- Weather sealing: Flagship professional grade
- Best for: Sports photographers who need the most reliable AF system available
Nikon Z9
Nikon's return to the top tier of sports photography. No mechanical shutter — purely electronic, 8K video capable.
- Burst rate: 20fps RAW, 120fps JPEG
- AF: Subject detection across multiple categories, very reliable
- Weather sealing: Flagship grade, designed for harsh conditions
- Best for: Photographers who want Nikon's glass ecosystem with top-tier performance
The second-hand argument
One frequently overlooked option: buy a previous-generation professional body second-hand.
A used Sony a9 II (released 2019) can be found for €2,000–€2,500 and outperforms most current mid-range bodies for sports photography specifically. Its 20fps burst with blackout-free viewfinder and excellent tracking were designed for exactly this use case.
Similarly, a used Canon 1DX Mark II or Nikon D6 — professional DSLR bodies — offer outstanding sports performance for dramatically less than their original prices.
For surf photography specifically, where raw burst speed and AF reliability matter most, older professional bodies often outperform newer consumer ones.
What camera doesn't matter as much as you think
Megapixels. For surf photography, 20MP is more than enough for any use case (web, print, up to A2 size). The arms race to 60MP+ makes little difference here.
Video specs. Unless you're also shooting video content, 4K and above is largely irrelevant for still photography sales.
Brand. Canon, Sony, and Nikon are all excellent. Choose based on the lens ecosystem you want to invest in — the glass matters more than the body.
Recommended pairings
| Budget | Body | Lens |
|---|---|---|
| Starter (€1,500–€2,000 total) | Sony a6700 | Sony 70–350mm f/4.5–6.3 |
| Mid (€3,000–€4,000 total) | Canon R6 II | Canon RF 100–500mm |
| Serious (€5,000–€7,000 total) | Sony a9 III | Sony 200–600mm |
| Full pro (€10,000+) | Canon R3 | Canon RF 400mm f/2.8 |
For lens details, see our telephoto lens guide for surf photography. For the settings to dial in once you have your body, check our camera settings guide. And if you're new to the whole thing, start with the beginner's guide to surf photography.

Ready to sell the shots from your new setup? Start free on Onda →