Shore vs In-Water Surf Photography: Which is Right for You?
Published 22 June 2026
Shore photography and in-water photography are almost different disciplines. They use different gear, require different skills, produce different kinds of images, and appeal to different audiences. Understanding the distinction early saves money, time, and the wrong equipment purchases.
Shore photography: the baseline
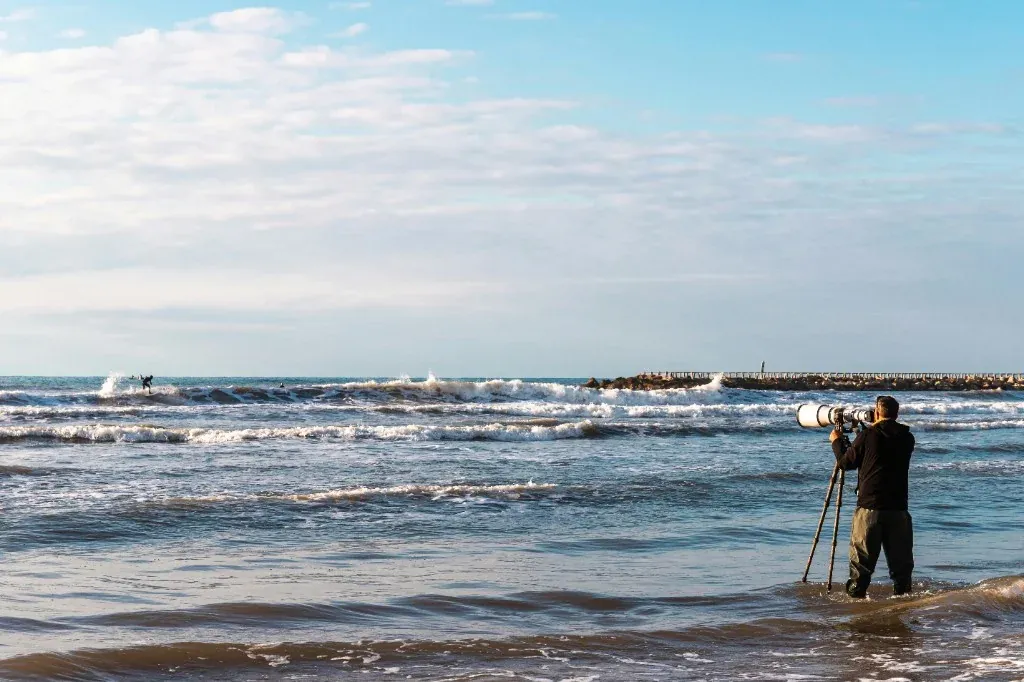
Shore photography means shooting from the beach, rocks, cliffs, or pier — anywhere outside the water. You're using a long telephoto to compress the distance between you and the subject.
The look: Compressed perspective, wave as backdrop, surfer typically in the mid-ground with the full wave visible. Long telephotos create a distinctive look — elements that are far apart in reality appear stacked together in the frame.
What it requires:
- A telephoto lens (300mm minimum, 400–600mm typical)
- A modern camera with strong AF tracking
- Knowledge of where to stand to be in line with the best action
What it doesn't require:
- Swimming ability
- Expensive waterproof housing
- Ocean awareness beyond basic beach safety
Shore photography is accessible. You can get genuinely excellent results from day one with the right lens and positioning. The learning curve is about reading the break, understanding light, and workflow — not physical skill or expensive specialist gear.
In-water photography: the specialist approach
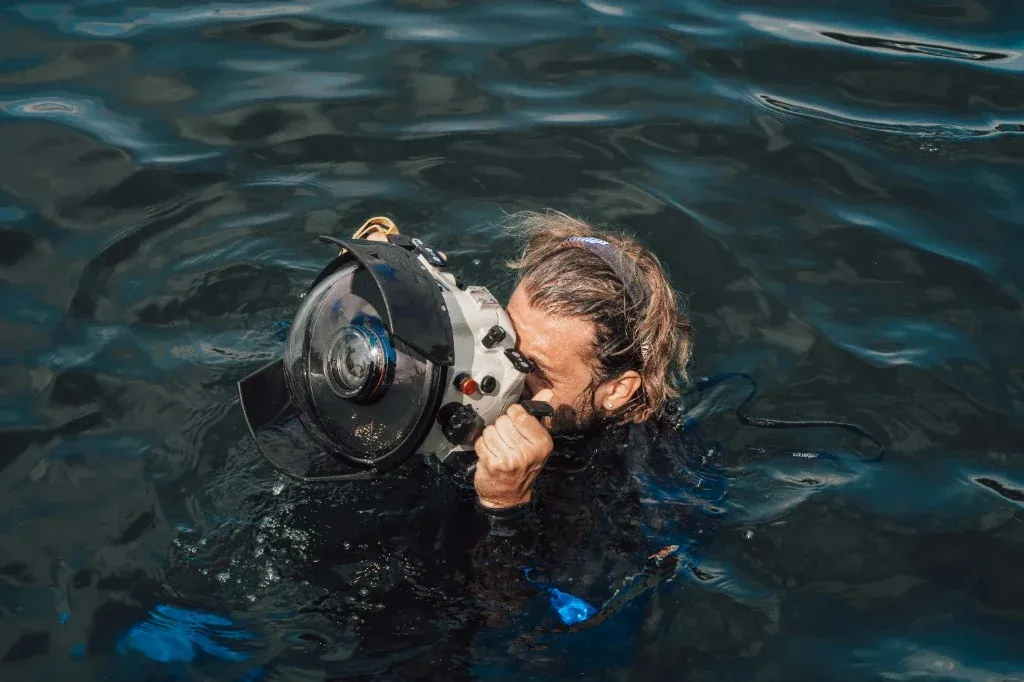
In-water photography means being in the ocean with your camera in a waterproof housing, shooting at close range (usually with wide or fisheye lenses) from inside or just outside the surf zone.
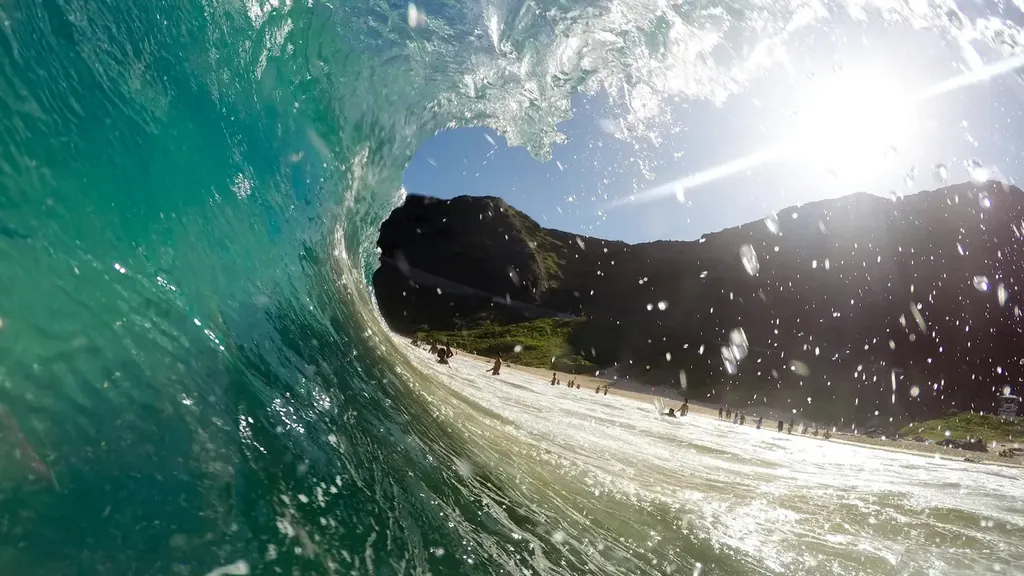
The look: Wide-angle distortion, extreme close range, often including the sky, the water surface, and the wave crest simultaneously. The surfer is much larger in the frame. The feeling is immersive — you're inside the moment rather than observing from outside.
What it requires:
- A water housing (€900–€3,000+ depending on specification)
- A wide-angle or fisheye lens
- Strong swimming ability
- Ocean knowledge to position safely
- Understanding of surf zone dynamics
What it doesn't require:
- Long telephoto lenses
In-water photography is a significant investment — financial and in terms of the skill development required to do it safely.
The images each approach produces
Some shots are only possible from one position or the other:
| Shot | Shore | In-water |
|---|---|---|
| Aerial view of full barrel | ✓ | ✗ |
| Rider's face inside the tube | ✗ | ✓ |
| Full sequence of a manoeuvre | ✓ | Partial |
| Water surface/underwater framing | ✗ | ✓ |
| Multiple surfers in one frame | ✓ | Rarely |
| Close-up of spray and expression | Possible at short range | Naturally |
| Wide establishing shot | ✓ | ✗ |
Neither approach is superior — they produce different things. The best surf photographers in the world do both.
What sells better?
For photographers selling photos back to surfers (the primary use case on Onda):
Shore photography sells more volume. The photos where the surfer can see their full body in a recognisable wave, see their technique, see their face — these are what surfers want to buy for themselves. Shore photos also capture more surfers per session (you might photograph 50 different people from shore; in-water you focus on 5–10).
In-water photography commands higher prices per image. The dramatic, close-range barrel shots are hero images — the kind of photo a surfer frames and puts on the wall. A stunning in-water barrel shot can be worth significantly more than a standard shore telephoto.
Start with shore, add in-water later
For photographers building a surf photography business, the practical sequence is almost always:
- Master shore photography first. Learn the breaks, build a workflow, start making sales.
- Invest in in-water gear when you can justify it. Once you're making consistent income and have a specific creative reason to add the in-water perspective.
The temptation is to start with the more dramatic-looking in-water approach because the images look extraordinary. But the real-world photography business is built on volume and consistency — and shore photography delivers that more reliably while you're still learning.
The hybrid approach
Many working surf photographers use both in the same session:
- Start in the water when conditions are right (smaller, cleaner surf, good light)
- Move to shore for the bulk of the session (capture more surfers, more variety)
- Return to water for specific moments (a known surfer attempting a specific trick)
This requires having both setups available — expensive but effective.
Safety considerations for in-water photography
This section deserves to be more prominent than most guides make it.
Being in the water at a surf break with a camera creates specific risks:
The camera housing is a blunt object. In a collision with another surfer, a housing can cause serious injury — to them or to you. Know where you are in relation to the lineup and stay out of the path of riding surfers.
Wipeouts happen. Have a plan for what happens if you're held under: let go of the camera (it should be tethered to your wrist), surface, assess. An expensive housing is replaceable. You are not.
Know your exit. Before getting in, identify exactly how you'll get out of the water — the channel, the rocks, the sandbar. This needs to be automatic.
Don't shoot alone. In-water photography at serious surf requires a second person on the beach watching for you.
None of this is meant to be discouraging — it's meant to contextualise why in-water photography is a progression, not a starting point.
For more on the in-water side, see our water housing guide. For lens recommendations from shore, check our telephoto lens guide.